Preparing for Video Shoots


There are a number of things to consider and ways to prepare before you come to be involved in a video production at MedIT. Knowing what to expect during a shoot will go a long way to help you appear confident, poised, and professional in front of the cameras.
Click on a title below to learn more. (Click the title again to close).
Preparation for Recording Pre-Week Lectures in MedIT
The Context
Integration of appropriate e-learning is an important pedagogical approach in the Foundations Curriculum. You and your team may be requested to develop video presentations for pre-week preparation, or in-week study materials as part of the Self-Learning Modules. These video presentations may be standalone or embedded into an online module.
Your video should be 10-15 minutes in length as it has been found that shorter videos are much more engaging. Articulating the objectives can help ensure that your planned content will be of appropriate length.
View an example Pre-Week lecture video here
The Powerpoint Presentation
The Foundations Curriculum renewal team has created a standard template for your PowerPoint presentation, if you will be using one.
Download the Powerpoint template here: (under construction)
Your PowerPoint presentation must be checked (and edited if needed) for consistency by the Foundations Curriculum renewal team. Please submit the presentation at least a week in advance to the renewal team.
View an example of a good Pre-Week Powerpoint here: (under construction)
The Environment (MSB 3283A)
You will be giving your presentation in a small studio that has video lighting, a camera, and microphones.
- You will be standing in front of a green background, which will be replaced with a different background on the video
- You will have a tablet on which to annotate and navigate through your slides, or a remote slide advancer if you’re not annotating
- You have the option of sitting or standing to deliver the lecture; however, you will not be able to walk around while you lecture
- At least one technician will be in the studio with you taking care of all of the technical considerations
- It does get warm in the studio, so bring water if you wish
Know Your Presentation
Although you can stop, start, and redo your presentation as necessary while recording it in the studio, it will flow much more naturally if you know your presentation well
- Practise giving the presentation out loud to NOBODY before you come in for the recording. Presenting to an empty room with a camera is quite different than being in a room full of students: no feedback, no other noises, no interruptions
- Practicing should include both your verbal component and the visual component. You might know what you would like to say, but saying it at the same time as navigating your computer applications might take a bit of time to perfect
- A teleprompter can be used to allow you look at a script while looking straight into the camera, but this can look awkward and should be used only if you feel you cannot give the lecture without it. We do not recommend reading a script from a teleprompter. You will, however, be able to see your Powerpoint on the teleprompter as a guide to your lecture.
- If you are annotating as you present, practise where in your presentation you will do this, and what you will do: e.g.: circles, arrows, text reinforcement
Hair, Make up, and Wardrobe
Unfortunately, we don’t have a budget for hair, make up, or wardrobe, but we do have a mirror. Here are some tips on what to wear:
- You will be shown on the video from approximately the waist up
- If you normally wear make up, wear the same amount as you usually do
- Avoid bright, reflective jewelry
- Do NOT wear a jacket or top with small patterns, such as tight stripes or herringbone, as this will shimmer on the video (Moire effect) and be distracting
- Do NOT wear green. The process by which the green-coloured background is replaced is by removing anything from the shot that is green-coloured; if you are wearing green, this will also disappear
- You will be able to see the final composited image of yourself, the background, and the powerpoint, on a monitor before you begin
Getting Set Up
It will take about 10 – 15minutes after you arrive to complete the technical set up.
- During this time, you will be asked to stay in front of the camera
- You can use this time to go through your presentation
- You can also talk to the technician at this time to communicate anything particular about your presentation, or ask questions
- The technician may ask for a sound check, during which you should say a sentence or two of your presentation in your normal presentation voice
Presenting the Lecture for the Camera
- Look into the camera. You will be able to see your slides on a screen in front of the camera (on a teleprompter), so even while you’re looking at your presentation, it appears as if you’re looking into the camera
- Angle yourself slightly to the right when you present. In the finished video, this will make it look like you are turned toward your Powerpoint, rather than away from it.
- When the studio set up is complete and you’re ready, the technician will signal for you to begin
- Speak relatively quickly and show enthusiasm for the topic
- If you make a mistake or trip on your words, we can do one of two things:
- If it’s a relatively small error and you catch it right away and can correct it without a long explanation, do so and carry on lecturing. It can stay in the video
- If you don’t catch it right away, it can’t be corrected, or will take a long explanation, just stop, say something like, “I’ll redo that,” pause, and pick up your presentation from a point slightly earlier from where you made the mistake. We will edit the mistake out in post-production
- As much as possible, reduce ums and ahs while you speak
- Remember to pause if appropriate, so viewers can absorb complex diagrams
- It is encouraged that you maintain your personality while you are recording, so do not be afraid to venture a bit off-course
- Unlike in a classroom, there is no visual indication or feedback from students and so in order to assist with comprehension and to increase clarity, it is helpful if you repeat your main concepts clearly and often. This will also reassure your learners that they are following along and are focused on the right pieces of information
- When you are finished, maintain your eye contact with the camera for 2- 3 seconds after your last word. That is, do not laugh, vocalize, roll your eyes, say "whew!" etc, until 2 - 3 seconds has passed. This allows time for a fade out in the finished video.
Preparation for Recording an Interview in the MedIT's Studio 3283A
Video interviews can be an effective way to communicate ideas or information.
This page provides some tips for planning and presenting a successful interview, as well as information on what to expect when you come to record. If you have questions, need support, or would like to discuss best practices, contact MedIT AV Staff.
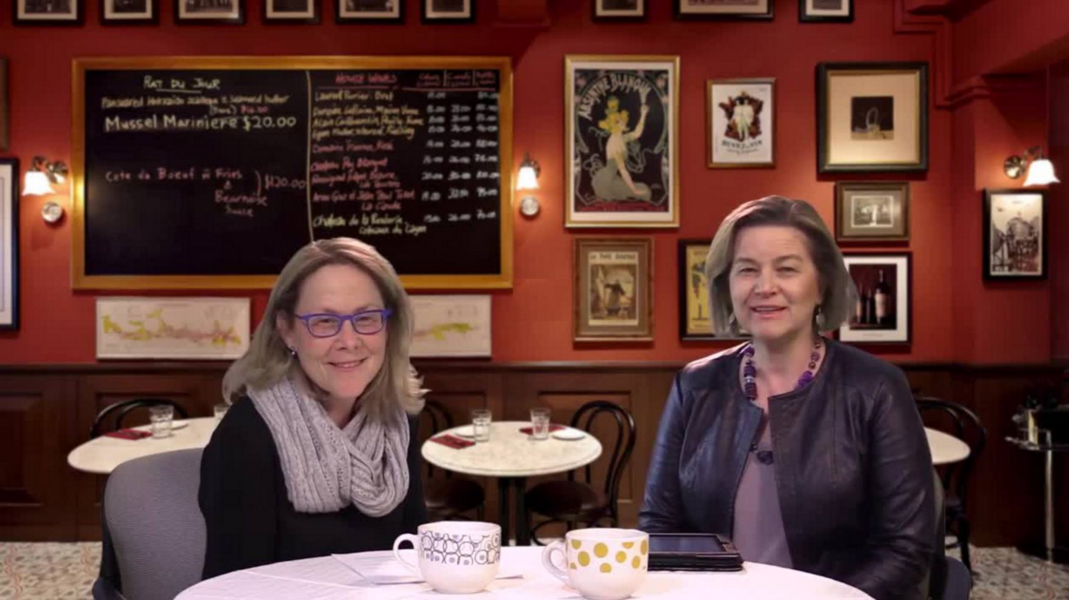
There are two interview formats that we typically use: interviewer on camera and interviewer off camera.
Interviewer On Camera: This is what you usually see in interview shows; the interviewer is seen and heard asking questions on set with the interviewee(s). The interviewer can interview one person or two people at a time. Three (one interviewer and two interviewees) is the most that can be comfortably accommodated in the MedIT's studio.
Interviewer Off Camera: In this case, the interviewer is not seen or heard, and the role of the interviewer is to elicit answers that will form a stand-alone video of the interviewee only. These are conducted as one-on-one interviews. In the finished video, the questions may appear as text on screen, or may not appear at all and the interviewee's answers will be edited to form the content of the video.
As an alternative to in-person interviews, we can also now support remote interviews, with one or all of the participants being off site.
The Environment (MSB 3283A)
Your interview will take place in a small studio that has video lighting, cameras, and microphones.
- You will be seated in front of a green background, which will be replaced with a different background on the video
- At least one technician will be in the studio with you taking care of all of the technical considerations
- The interview will be shot with 2 or 3 cameras, and depending on the situation, will include any of the following:
- one camera that will be capturing you from approximately the waist up
- another camera that will be a wider shot, capturing you and the one or two others in the interview from head to toe
- a third camera that will capture the other subjects from approximately the waist up
- It does get warm in the studio, so bring water if you wish
Click for maps and directions to the studio
On-Camera Tips
- turn off your phone
- avoid tapping, coughing, rustling of paper
- avoid looking around the studio while you are on camera:
- you'll be asked to look at the other person while you speak
- do not look at the camera, the technician, or any other people that may be in the room
- if you need to look elsewhere to think--not everyone can look directly at someone else all the time--find a place in the room to which your eyes can wander that isn't in line with the cameras
- you'll be asked to look at the other person while you speak
- As much as possible, reduce ums and ahs while you speak
Notes for the Onscreen Interviewer
- provide the questions to the interviewee(s) in order that they can prepare
- you will be captured by the camera even when your interviewee is answering questions
- you should appear interested in their answer, nodding and otherwise reacting (silently) as appropriate. However, do not vocalize while they are speaking (eg: uh huh, yes, mmhmm, throat clearing, etc)
- if you wish, you may have notes on a clipboard, but note that this will appear in the video
- if you do use notes:
- don't read from them when you ask your questions. If necessary, read the question silently, then look at your interviewee and ask the question
- ensure that the notes you need are only on one or two pages to minimize paper rustling
- if necessary, you can take breaks between questions
- When you are finished the interview, maintain your eye contact with the interviewee for 2- 3 seconds after your last word. That is, do not laugh, vocalize, roll your eyes, say "whew!" etc, until 2 - 3 seconds has passed. This allows time for a fade out or an edit to another shot in the finished video.
Notes for the Interviewee
- prepare for the interview by getting the questions in advance and formulating your answers
- be succinct and to the point. Avoid repeating yourself in an answer and using different words to say the same thing
- if you make an error in an response or trip on your words, you can pause and then redo it. If it's easy to do, go back to the beginning of your answer and redo it; if you've successfully covered a fair amount of ground, just redo the sentence where you made the mistake. We can edit out the mistake.
- in conversation or presentations, we often begin our sentences with certain words, such as, "So," or "Well." Try to avoid this.
- While not very noticeable in regular conversation, it is noticeable and potentially distracting in videos
- It will be pointed out to you if you're doing this (you likely don't realize you're doing it). A technique to avoid it is to:
- pause after the interview question is asked and consider how you will answer
- when you begin to answer, be mindful of saying the first word of the answer and leaving out the common word. Say the common word in your head, if necessary, and start your vocalization with the first word of the answer
- if you'e doing an Interviewer-Off-Camera interview (in which the interviewer won't be seen or heard on the video), incorporate the question into your answer. For example, to the question, "What is the role of the preceptor in this rotation?" your answer would begin, "The role of the preceptor in Ophthalmology is..." In addition to helping your answers stand on their own, it tends to allow you to better focus your answer to the question being asked
- When you are finished the interview, maintain your eye contact with the interviewer for 2 - 3 seconds after your last word. That is, do not laugh, vocalize, roll your eyes, say "whew!" etc, until 2 - 3 seconds has passed. This allows time for a fade out or an edit to another shot in the finished video
Hair, Make up, and Wardrobe
Unfortunately, we don’t have a budget for hair, make up, or wardrobe, but we do have a mirror. Here are some tips on what to wear:
- If you normally wear make up, wear the same amount as you usually do
- Avoid bright, reflective jewelry
- Do NOT wear green. The process by which the green-coloured background is replaced is by removing anything from the shot that is green-coloured; if you are wearing green, this will also disappear
- Do NOT wear clothing with small patterns, such as tight stripes or herringbone, as this will shimmer on the video (Moiré effect) and be distracting (see the video below)
Getting Set Up
It will take about 10 – 15minutes after you arrive to complete the technical set up.
- During this time, you will be asked to stay in front of the camera
- You can use this time to review the questions and answers
- You can also talk to the technician at this time to communicate anything particular about the interview, or ask questions
- The technician may ask for a sound check, during which you should ask and answer one or two questions in the voice you will be using during the interview
- When the studio set up is complete and you’re ready, the technician will signal for you to begin
Preparation for Doing a Webcast in the MedIT's Studio 3283A
Webcasts can be an effective way to communicate ideas or information synchronously to a large number of people. Webcasts can also be recorded and posted shortly after the live session for viewing by anyone not available at the time of the live session.
During the webcast, remote participants can see and hear the webcast hosts, but the remote participants cannot be seen or heard. They can, however, use a chat to communicate amongst themselves and to ask questions or share comments with you, the hosts.
This page provides some tips for planning and presenting a successful webcast, as well as information on what to expect when you come to MedIT to host the webcast. If you have questions, need support, or would like to discuss best practices, contact our MedIT AV Staff.
The Environment (MSB 3283A)
Your webcast will take place in a small studio that has video lighting, cameras, and microphones.
- You will be seated or standing in front of a green background, which will be replaced with a different background on the video
- At least one technician will be in the studio with you taking care of all of the technical considerations
- It does get warm in the studio, so bring water if you wish
Click for maps and directions to the studio
Considerations in Planning the Webcast
Consider the following when planning your webcast. These decisions should be made and communicated to MedIT before the day of the webcast.
- What kind of background would you like to use? Consider the audience and the objectives of the webcast. Some options are:
- a neutral background, like a library or even just a colour gradient
- an office or classroom
- a specific location
- Will you be standing or seated?
- if seated, will you use a table?
- Will you be incorporating a Powerpoint or other visual aides?
- How many people will be on camera?
- three is the maximum in our studio
- Are you accepting questions and comments from online participants via the chat function? If so:
- will you take these throughout or just at the end? You should announce this at the beginning of the webcast
- you should have a moderator (this person can be on or off camera) who will monitor the chat and answer appropriate questions or feed them to the presenter. (click to see more on this in the During the Webcast section of this page)
- create some questions or dialogue that you can fall back on if there are no incoming questions. This is important to ensure that there is no "dead space." Think of radio or television call-in shows: there is never silence; the on-air person always fills any gaps with relevant commentary
- Are you recording the webcast?
- if so, where will it be hosted and posted? Click for information on hosting
- you can avoid delays in getting the recording available online if you provide the hosting and posting information before the webcast takes place
- How will you let your participants know about the webcast?
- notices can include Blackboard Announcements, emails (blasts or more targeted), posters, and website postings
- in this notice you should include the url that participants will use to access the webcast (we will supply this to you)
- we will also provide some basic instructions to pass on, such as to log in a few minutes before the start time of the webcast to adjust audio and ensure they can see the video (a video with music will run before the webcast for this purpose).
On-Camera Tips
- This is a live event; conduct yourself as you would in front of a live audience
- Turn off your phone
- Avoid tapping, coughing, rustling of paper, as this is amplified by the microphone to the remote participants
- You will likely be addressing the remote participants, so you should be looking at the camera when you speak
- Avoid looking around the studio while you are on camera
- As much as possible, reduce ums and ahs while you speak
- If you are co-presenting, you may be shown on camera when the other person is presenting. Appear engaged in their presentation and avoid looking at your own notes for more than just a glance
Know Your Presentation
If you are giving a presentation, practise giving it out loud to NOBODY before you come in for the webcast. Presenting to an empty room with a camera is quite different than being in a room full of students: no feedback, no other noises, no interruptions
- Practicing should include both your verbal component and the visual component. You might know what you would like to say, but saying it at the same time as navigating your computer applications might take a bit of time to perfect
- A teleprompter can be used to allow you look at a script while looking straight into the camera, but this can look awkward and should only be used if you feel you cannot give the presentation without it. We do not recommend reading a script from a teleprompter
- If you are annotating as you present, practice where in your presentation you will do this, and what you will do: e.g.: circles, arrows, text reinforcement
Hair, Make up, and Wardrobe
Unfortunately, we don’t have a budget for hair, make up, or wardrobe, but we do have a mirror. Here are some tips on what to wear:
If you normally wear make up, wear the same amount as you usually do
- Avoid bright, reflective jewelry
- Do NOT wear green. The process by which the green-coloured background is replaced is by removing anything from the shot that is green-coloured; if you are wearing green, this will also disappear
- You will be able to see the final composited image of yourself, the background, and the powerpoint, on a monitor before you begin
- You will likely be captured by the camera from about the waist up, but it could be your whole body. If this is something you would like to know in advance, check with MedIT AV Staff
- Do NOT wear clothing with small patterns, such as tight stripes or herringbone, as this will shimmer on the video (Moiré effect) and be distracting (see the video below)
Getting Set Up
- If you are presenting a Powerpoint or other visual aide, bring these on a USB drive
- It will take about 15 – 30 minutes after you arrive to complete the technical set up.
- if this is your first time doing a webcast with us, please arrive a full 30 minutes before the webcast's scheduled start time
- if you do regular webcasts with us and we have all of the information set out in the Considerations in Planning the Webcast section on this page, please arrive at least 20 minutes before the webcast's scheduled start time
- During this time, you may be asked to stay in front of the camera
- You can use this time to go through your presentation
- You can also talk to the technician at this time to communicate anything particular about the webcast, or ask questions
- The technician may ask for a sound check, during which you should say a sentence or two in your normal presentation voice
- Online participants will see a video with music that informs them that the webcast will begin shortly, and to use the video music to ensure that their audio is turned up.
- At times, the microphone in the studio may "go live" while the technician is setting up and the voices in the studio may be broadcast. For this reason, don't have private conversations in the studio during this time
Starting the Webcast
- The technician will be seated behind a half-wall partition for the duration of the webcast
- The technician will guide you through the technical considerations of the webcast
- At the published time of the webcast (and presumably, when you and the technician are ready to go), the technician will point to you
- this means that the webcast is now live
- it is your cue to begin
During the Webcast
- Look into the camera.
- Show enthusiasm for the topic
- If you are taking questions from participants, the moderator or presenter should state the question from the chat so that all participates can hear it prior to the presenter answering the question; ie “one of participants has asked a really good question: ....”
- A teleprompter can be used so you can see your slides or questions from remote participants on a screen in front of the camera, so even while you’re reading these, it appears as if you’re looking into the camera
- When you are finished, maintain your eye contact with the camera until the technician says, "We are offline.". That is, do not laugh, vocalize, roll your eyes, say "whew!" etc, until you hear that.
Preparation for Recording a Lecture or Presentation in the MedIT's Studio 3283A

Providing recorded lectures for learners to watch online can be an effective pedagogical strategy when done well.
This page provides some tips for planning and presenting a successful recorded lecture, as well as information on what to expect when you come to record. If you have questions, need support, or would like to discuss your particular project or best practices, contact our MedIT AV Staff.
The Environment (MSB 3283A)
You will be giving your presentation in a small studio that has video lighting, a camera, and microphones
- You will be poistioned in front of a green background, which will be replaced with a different background on the video
- If you have a presentation, you will have a tablet on which to annotate and navigate through your slides, or a remote slide advancer if you’re not annotating
- You have the option of sitting or standing; however, you will not be able to walk around while you lecture
- At least one technician will be in the studio with you taking care of all of the technical considerations
- It does get warm in the studio, so bring water if you wish
Click for maps and directions to the studio
Know Your Presentation
Although you can stop, start, and redo your presentation as necessary while recording it in the studio, it will flow much more naturally if you know your presentation well
- Practise giving the presentation out loud to NOBODY before you come in for the recording. Presenting to an empty room with a camera is quite different than being in a room full of students: no feedback, no other noises, no interruptions
- Practicing should include both your verbal component and the visual component. You might know what you would like to say, but saying it at the same time as navigating your computer applications might take a bit of time to perfect
- A teleprompter can be used to allow you look at a script while looking straight into the camera, but this can look awkward and should be used only if you feel you cannot give the lecture without it. We do not recommend reading a script from a teleprompter
- If you are annotating as you present, practise where in your presentation you will do this, and what you will do: e.g.: circles, arrows, text reinforcement
Hair, Make up, and Wardrobe
Unfortunately, we don’t have a budget for hair, make up, or wardrobe, but we do have a mirror. Here are some tips on what to wear:
- If you normally wear make up, wear the same amount as you usually do
- Avoid bright, reflective jewelry
- Do NOT wear green. The process by which the green-coloured background is replaced is by removing anything from the shot that is green-coloured; if you are wearing green, this will also disappear
- Do NOT wear a jacket or top with small patterns, such as tight stripes or herringbone, as this will shimmer on the video (Moiré effect) and be distracting.
You will be able to see the final composited image of yourself, the background, and the Powerpoint, on a monitor before you begin
What We Need From You in Advance
Here's the information or elements that we require at least a day before your scheduled recording, in order to have the studio configured for you.
- Will you be standing or sitting?
- Will you be annotating on tablet (which we will provide)?
- if you don't use the tablet, you will use a remote slide advancer to navigate your presentation
- How many people will be presenting the lecture?
- if more than one, should they be on camera at the same time?
- What background style will you use?
- You can send your presentation to us in advance; send it using this link: https://airtable.com/shrGdFNrUnwFV40ee
- OR you can bring it in on a USB drive
- Will you be using any props, moving around, or doing anything other than standing and lecturing?
- The text file, if you need to use the teleprompter for text (eg, to read a script)
- Where the recording will be hosted and posted? (Click here for more information)
- If your team will be doing the post-production instead of MedIT
Getting Set Up
It will take about 10 – 15 minutes after you arrive to complete the technical set up.
- During this time, you will be asked to stay in front of the camera
- You can use this time to go through your presentation
- You can also talk to the technician at this time to communicate anything particular about your presentation, or ask questions
- The technician may ask for a sound check, during which you should say a sentence or two of your presentation in your normal presentation voice
Presenting the Lecture for the Camera
- Look into the camera. You will be able to see your slides, if you have any, on a screen in front of the camera (on a teleprompter), so even while you’re looking at your presentation, it appears as if you’re looking into the camera
- When the studio set up is complete and you’re ready, the technician will signal for you to begin
- Speak relatively quickly, but enunciate well and show enthusiasm for the topic
- If you make a mistake or trip on your words, we can do one of two things:
- If it’s a relatively small error and you catch it right away and can correct it without a long explanation, do so and carry on lecturing. It can stay in the video
- If you don’t catch it right away, it can’t be corrected, or will take a long explanation, just stop, say something like, “I’ll redo that,” pause, and pick up your presentation from a point slightly earlier from where you made the mistake. We will edit the mistake out in post-production
- As much as possible, reduce ums and ahs while you speak
- Remember to pause if appropriate, so viewers can absorb complex diagrams and concepts
- It is encouraged that you maintain your personality while you are recording, so do not be afraid to venture a bit off-course
- Unlike in a classroom, there is no visual indication or feedback from students and so in order to assist with comprehension and to increase clarity, it is helpful if you repeat your main concepts clearly and often. This will also reassure your learners that they are following along and are focused on the right pieces of information
- When you are finished, maintain your eye contact with the camera for 2 - 3 seconds after your last word. That is, do not laugh, vocalize, roll your eyes, say "whew! etc, until 2 - 3 seconds has passed. This allows time for a fade out in the finished video.
Preparation for Recording an Non-Studio Interview
Video interviews can be an effective way to communicate ideas or information.
This page provides some tips for planning and presenting a successful interview that is recorded outside of the studio, as well as information on what to expect when doing the recording. Interviews typically have one interviewer and can have one, two, and sometimes three interviewees.
If you are preparing for an interview being recorded in our studio, please visit Preparation for Recording an Interview in the MedIT Studio.
If you have questions, need support, or would like to discuss best practices, contact our MedIT AV Staff
There are two interview formats that we typically use: interviewer on camera and interviewer off camera:
Interviewer On Camera: This is what you usually see in interview shows; the interviewer is seen and heard asking questions on set with the interviewee(s). The interviewer can interview one person or two people at a time. Three (one interviewer and two interviewees) is the most that can be comfortably accommodated in the MedIT's studio.
Interviewer Off Camera: In this case, the interviewer is not seen or heard, and the role of the interviewer is to elicit answers that will form a stand-alone video of the interviewee only. These are conducted as one-on-one interviews. In the finished video, the questions may appear as text on screen, or may not appear at all and the interviewee's answers will be edited to form the content of the video.
The Environment (MSB 3283A)
The criteria for the location of the interview include:
- relatively quiet space
- interesting, and if appropriate, relevant background (e.g., a clinic for a clinical interview), but not too distracting (usually we have the backround out of focus to assist with this)
- space enough for several people, chairs, and equipment
At least one technician will be with you taking care of all of the technical considerations, and another audio-visual person may be present to provide more general support.
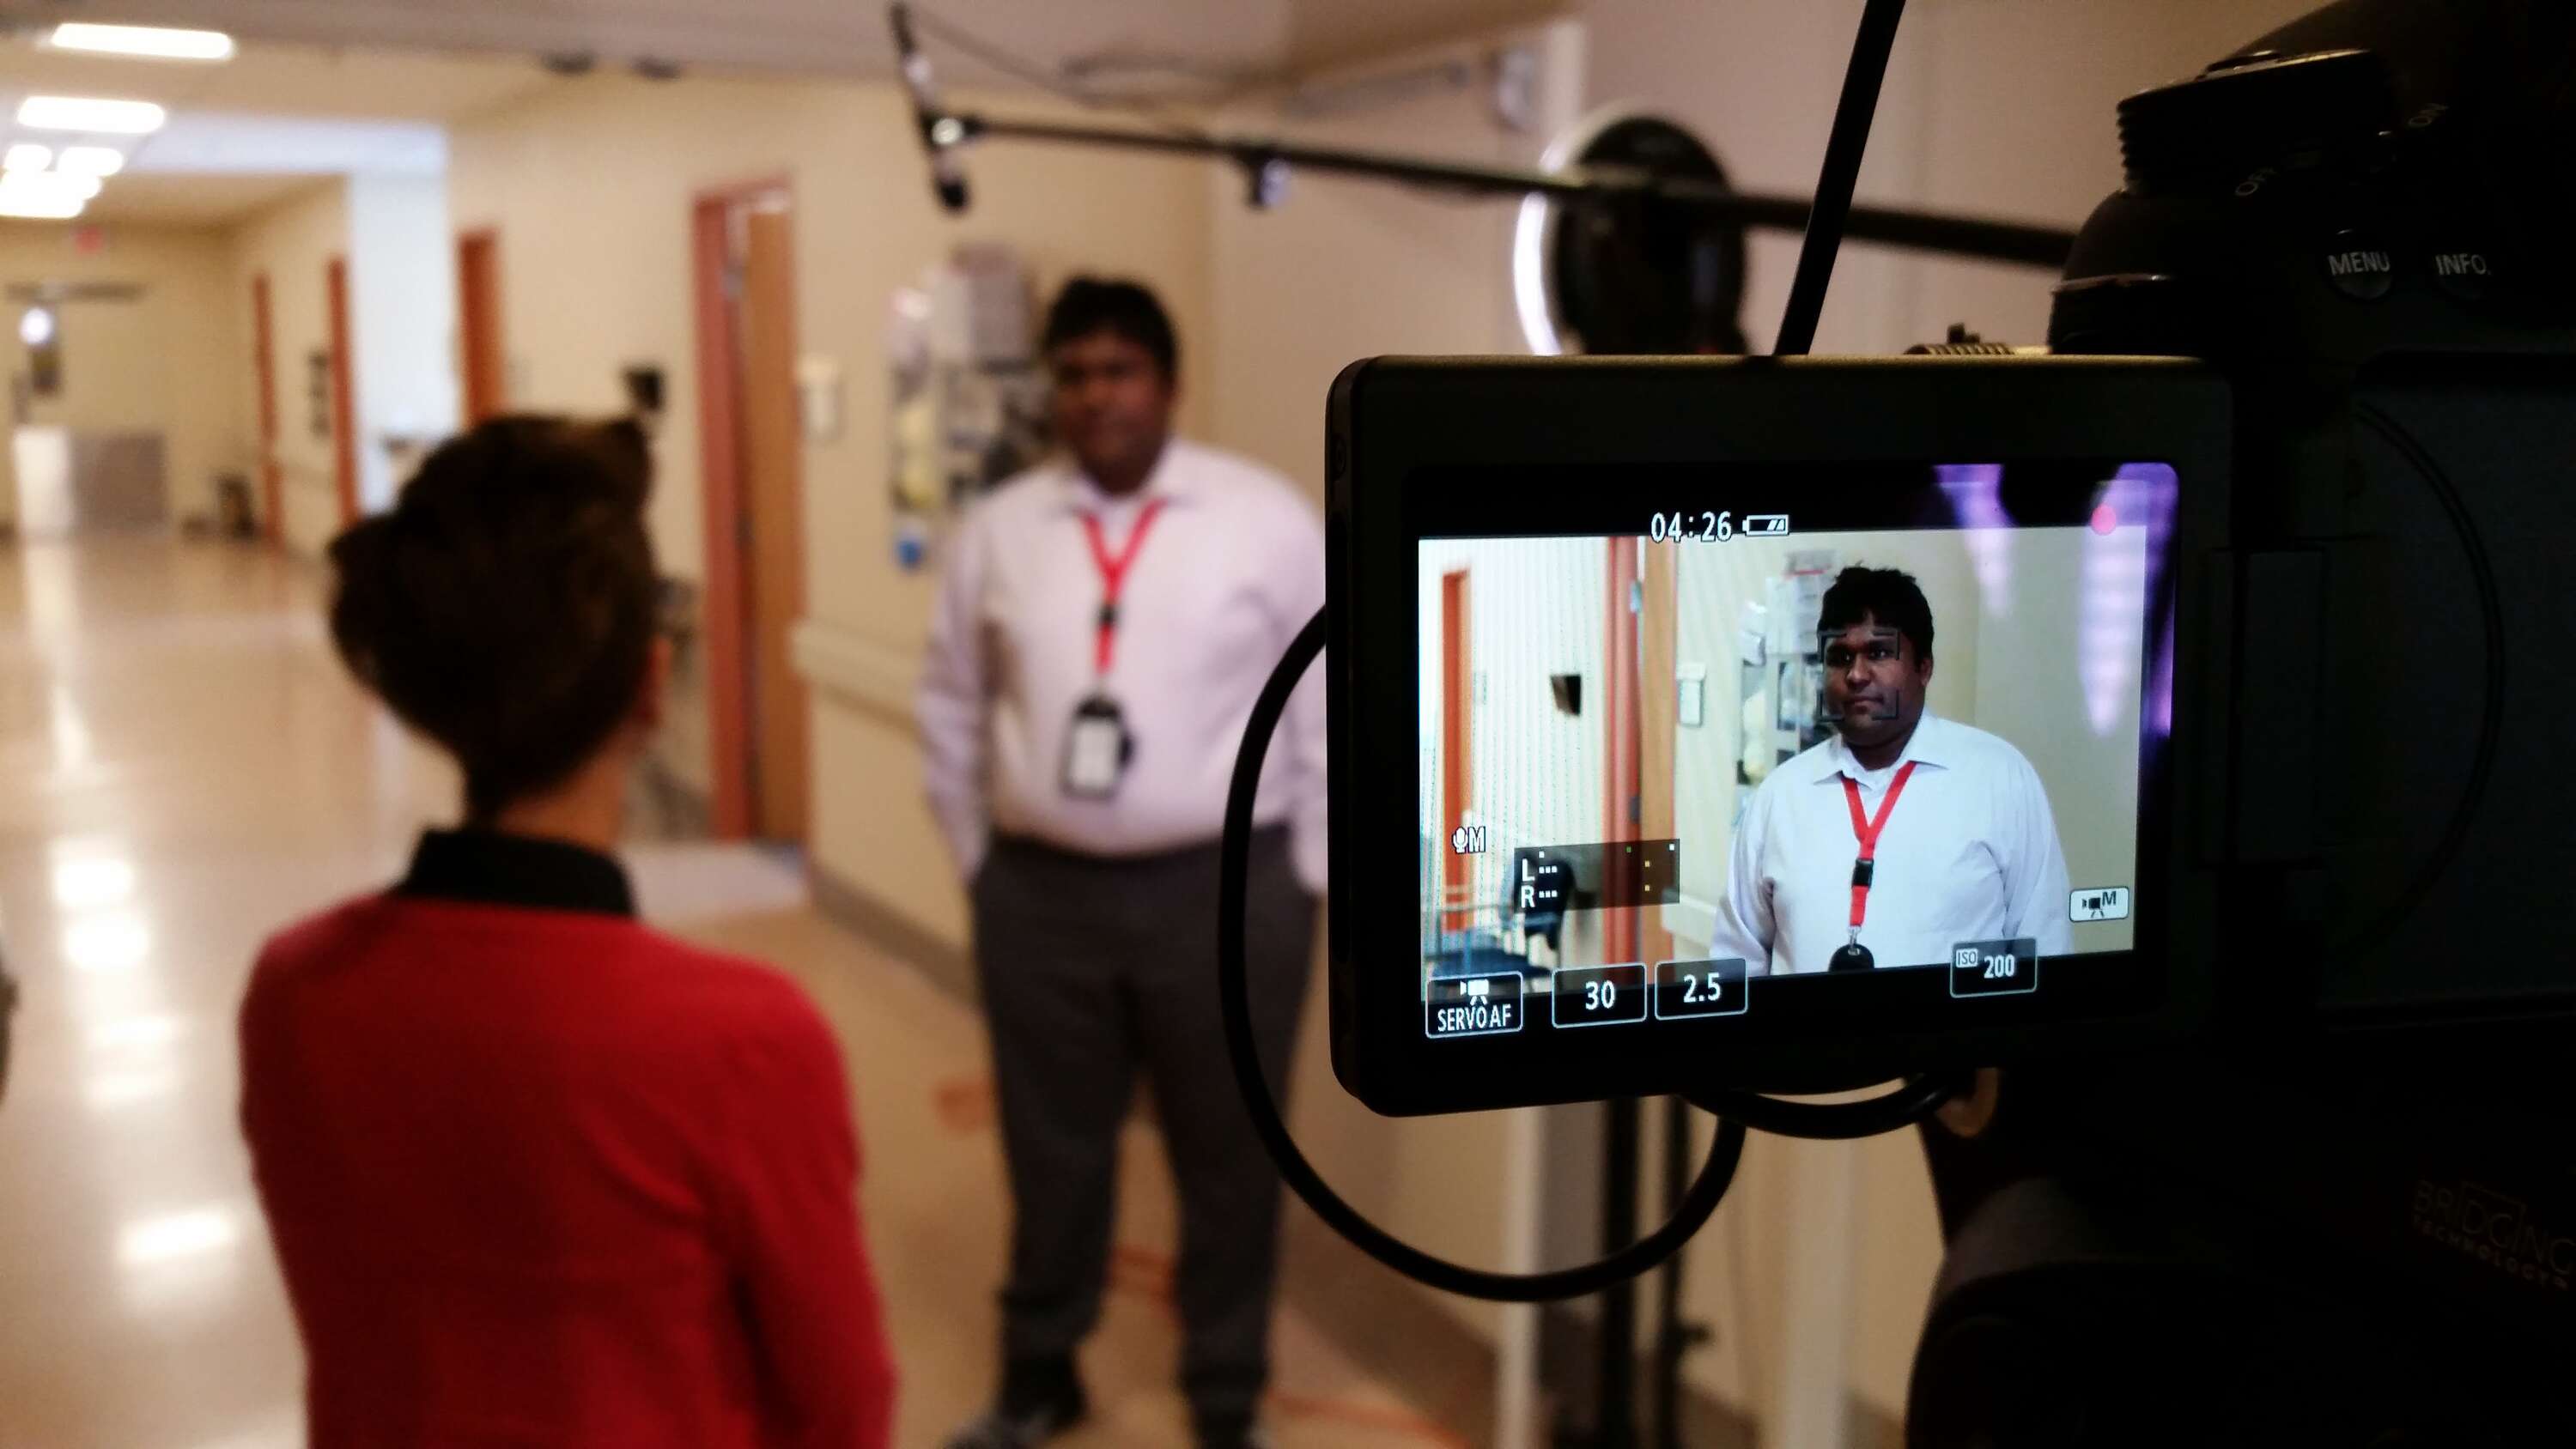
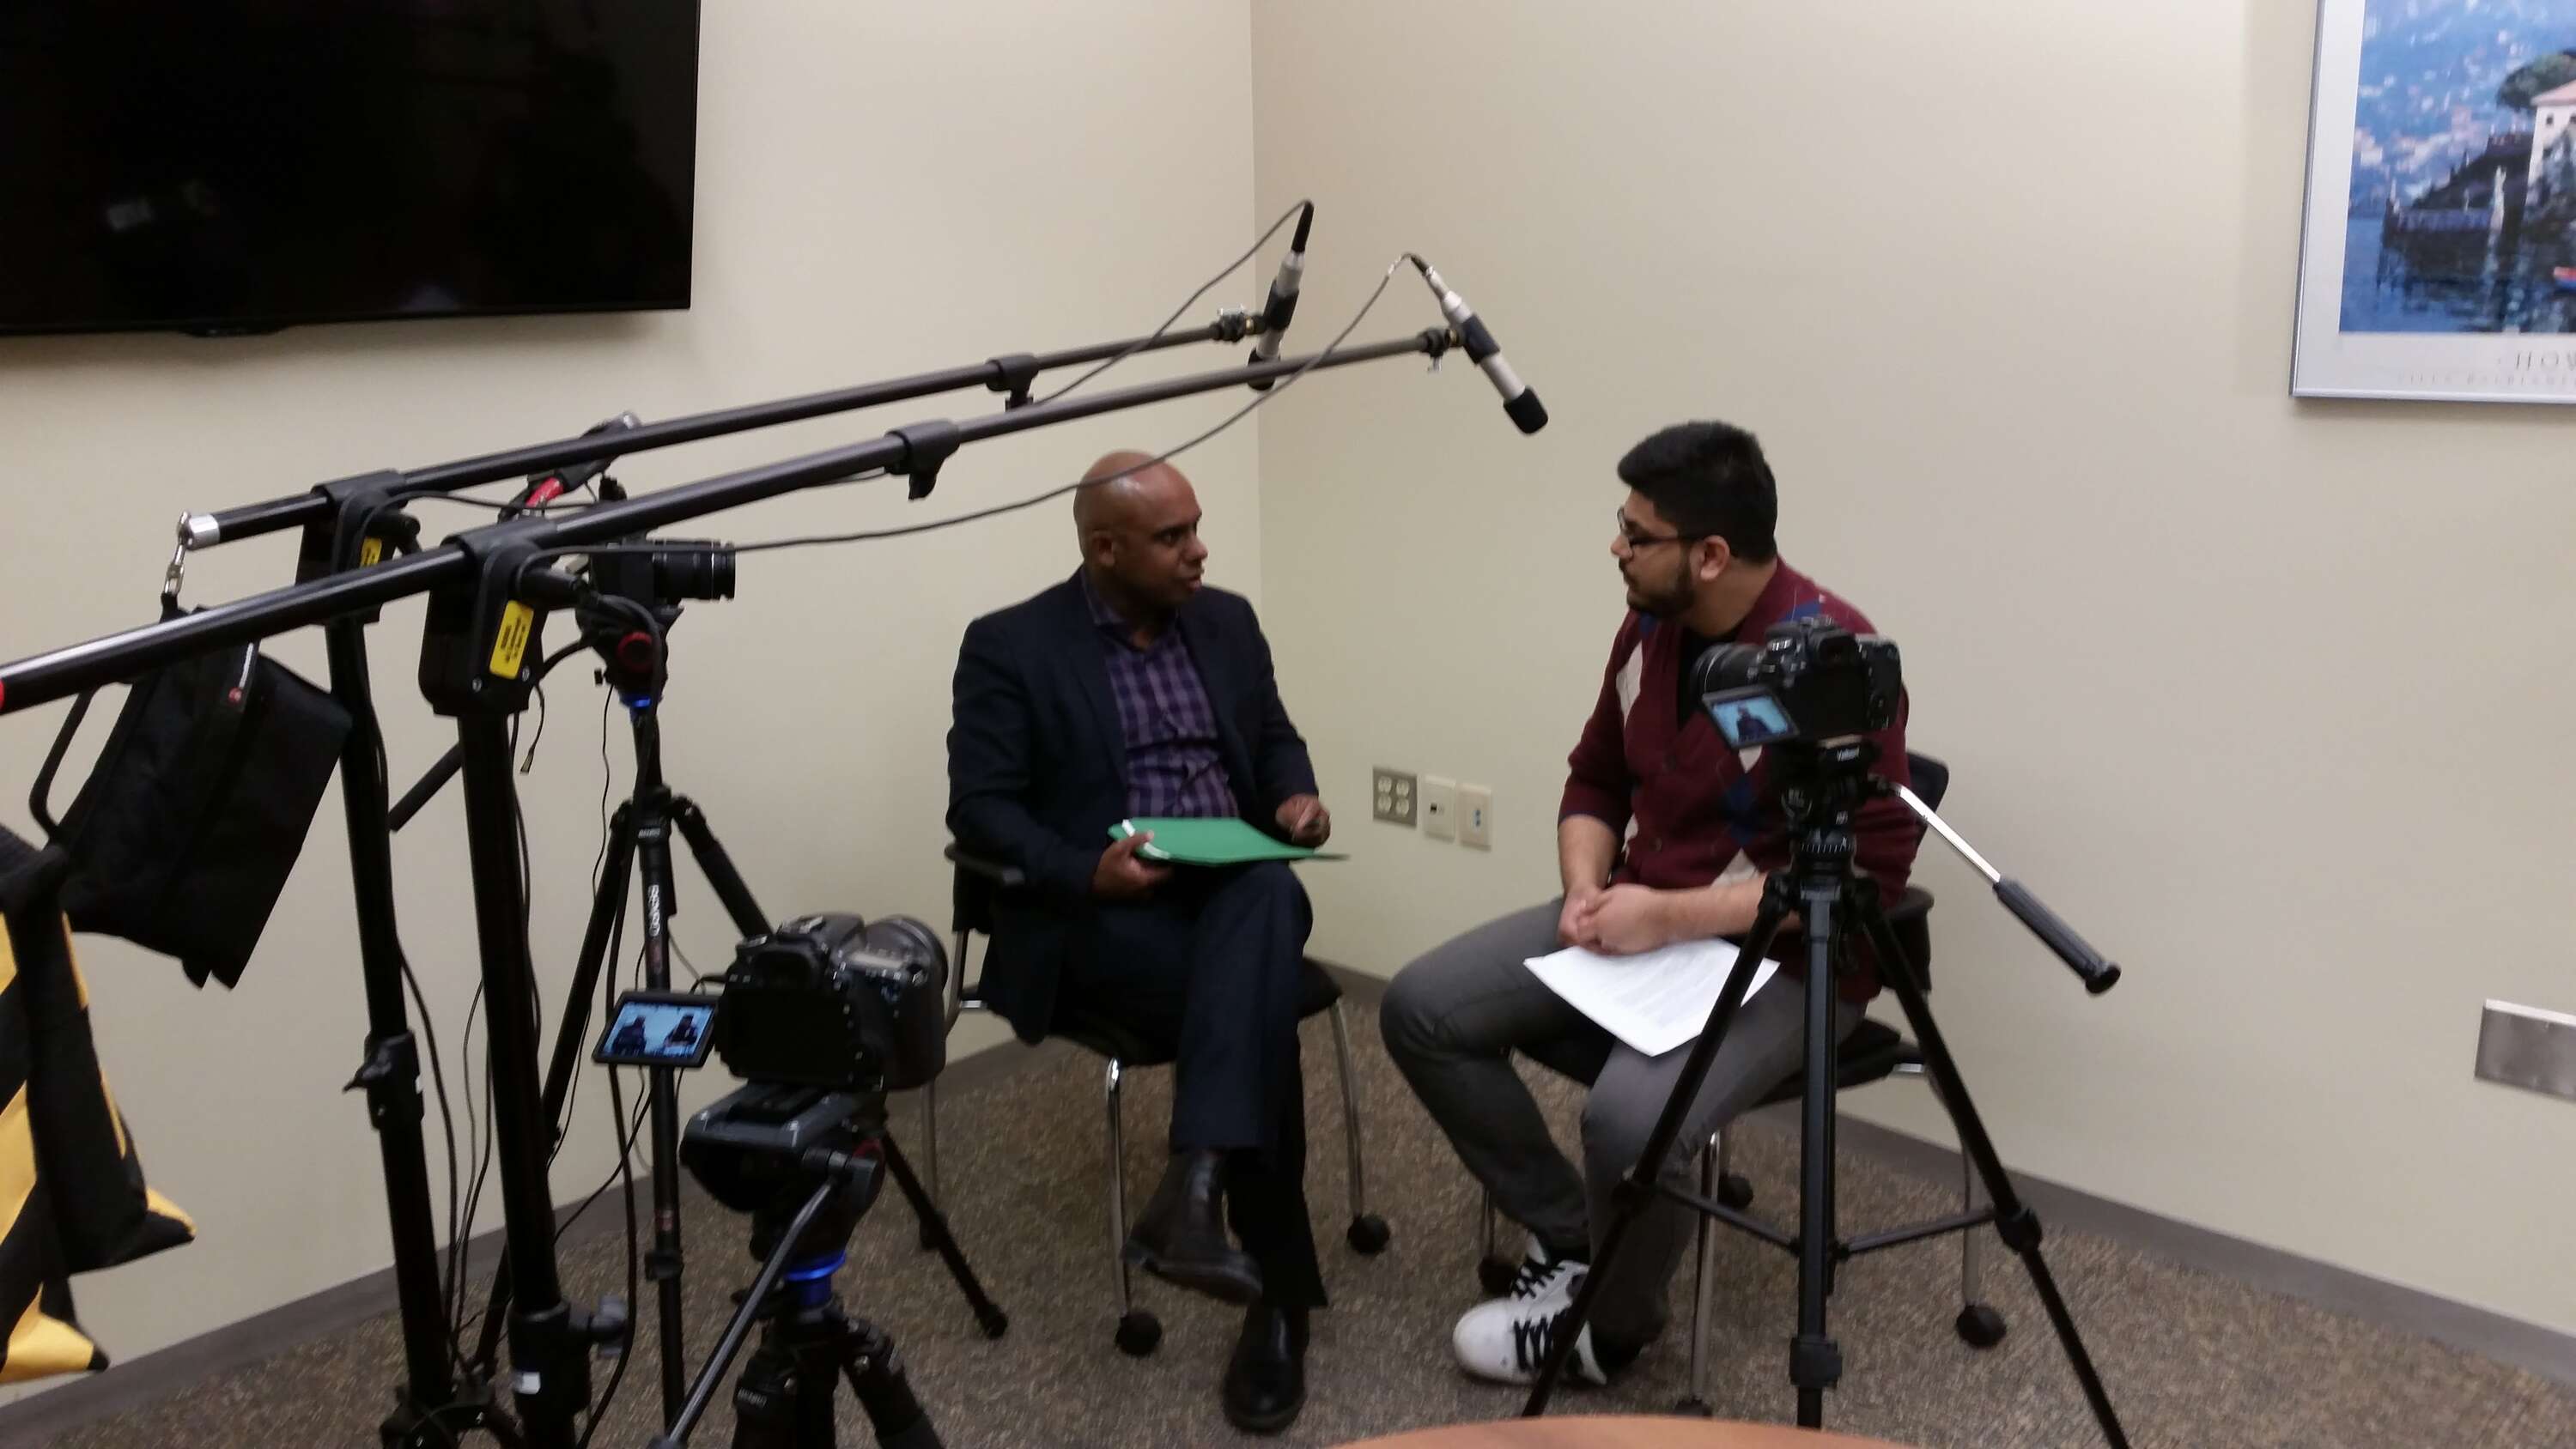
The interview will be shot with 1, 2 or 3 cameras, depending on the situation, and may include any of the following:
- one camera that will be capturing you from approximately the waist up
- another camera that will be a wider shot, capturing you and the one or two others in the interview from head to toe
- a third camera that will capture the other subjects from approximately the waist up
Because there may be elements in the field of view of the camera or noise over which we have no control, there may be times that we'll need to interrupt the shooting of the interview until the disruption has passed.
The interview can be done standing or sitting, but the participants should be either all standing or all sitting.
On-Camera Tips
- turn off your phone
- avoid tapping, coughing, rustling of paper
- avoid looking around the room at anyone other than your interviewer or interviewee during the interview:
- you'll be asked to look at the other person while you speak
- do not look at the camera, the technician, or any other people that may be in the room
- if you need to look elsewhere to think--not everyone can look directly at someone else all the time--find a place in the room to which your eyes can wander that isn't in line with the cameras
- As much as possible, reduce ums and ahs while you speak
Notes for the On-Camera Interviewer
- provide the questions to the interviewee(s) in advance in order that they can prepare
- you will be captured by the camera even when your interviewee is answering questions
- you should appear interested in their answer, nodding and otherwise reacting (silently) as appropriate. However, do not vocalize while they are speaking (eg: uh huh, yes, mmhmm, throat clearing, etc)
- if you wish, you may have notes on a clipboard, but note that this will appear in the video
- if you do use notes:
- don't read from them when you ask your questions. If necessary, read the question silently, then look at your interviewee and ask the question
- ensure that the notes you need are only on one or two pages to minimize paper rustling
- if you do use notes:
- if necessary, you can take breaks between questions
- When you are finished the interview, maintain your eye contact with the interviewee for 2- 3 seconds after your last word. That is, do not laugh, vocalize, roll your eyes, say "whew!" etc, until 2 - 3 seconds has passed. This allows time for a fade out or an edit to another shot in the finished video.
Notes for the Off-Camera Interviewer
- provide the questions to the interviewee(s) in advance in order that they can prepare
- you should appear interested in their answer, nodding and otherwise reacting (silently) as appropriate; while you will not be on camera, appearing interested in the responses will help your interviewee feel more comfortable, and help elicit better answers. However, do not vocalize during the interview except to ask your questions (eg: uh huh, yes, mmhmm, throat clearing, etc), as this cannot be edited out of the final video
- if you wish, you may have notes on a clipboard
- if you do use notes, ensure that the notes you need are only on one or two pages to minimize paper rustling, or better yet, on your phone or tablet
- if necessary, you can take breaks between questions
- When you are finished the interview, maintain your eye contact with the interviewee for 2- 3 seconds after your last word. That is, do not laugh, vocalize, roll your eyes, say "whew!" etc, until 2 - 3 seconds has passed. This allows time for a fade out or an edit to another shot in the finished video.
Notes for the Interviewee
- prepare for the interview by getting the questions in advance and formulating your answers
- be succinct and to the point. Avoid repeating yourself in an answer and using different words to say the same thing
- if you make an error in an response or trip on your words, you can pause and then redo it. If it's easy to do, go back to the beginning of your answer and redo it; if you've successfully covered a fair amount of ground, just redo the sentence where you made the mistake. We can edit out the mistake.
- in conversation or presentations, we often begin our sentences with certain words, such as, "So," or "Well." Try to avoid this.
- While not very noticeable in regular conversation, it is noticeable and potentially distracting in videos
- It will be pointed out to you if you're doing this (you likely don't realize you're doing it). A technique to avoid it is to:
- pause after the interview question is asked and consider how you will answer
- when you begin to answer, be mindful of saying the first word of the answer and leaving out the common word. Say the common word in your head, if necessary, and start your vocalization with the first word of the answer
- if you're doing an Interviewer-Off-Camera interview (in which the interviewer won't be seen or heard on the video), incorporate the question into your answer. For example, to the question, "What is the role of the preceptor in this rotation?" your answer would begin, "The role of the preceptor in Ophthalmology is..." In addition to helping your answers stand on their own, it tends to allow you to better focus your answer to the question being asked
- When you are finished the interview, maintain your eye contact with the interviewer for 2 - 3 seconds after your last word. That is, do not laugh, vocalize, roll your eyes, say "whew!" etc, until 2 - 3 seconds has passed. This allows time for a fade out or an edit to another shot in the finished video
Hair, Make up, and Wardrobe
Unfortunately, we don’t have a budget for hair, make up, or wardrobe. Here are some tips on what to wear:
- If you normally wear make up, wear the same amount as you usually do
- Avoid bright, reflective jewelry
- Do NOT wear clothing with small patterns, such as tight stripes or herringbone, as this will shimmer on the video (Moiré effect) and be distracting
Getting Set Up
It will take about 10 – 15minutes after you arrive to complete the technical set up.
- During this time, you will be asked to stay in front of the camera
- You can use this time to review the questions and answers
- You can also talk to the technician at this time to communicate anything particular about the interview, or ask questions
- The technician may ask for a sound check, during which you should ask and answer one or two questions in the voices you will be using during the interview
- When the set up is complete and you’re ready, the technician will signal for you to begin
Preparation for Appearing in a Scripted Interview
Scripted Interviews
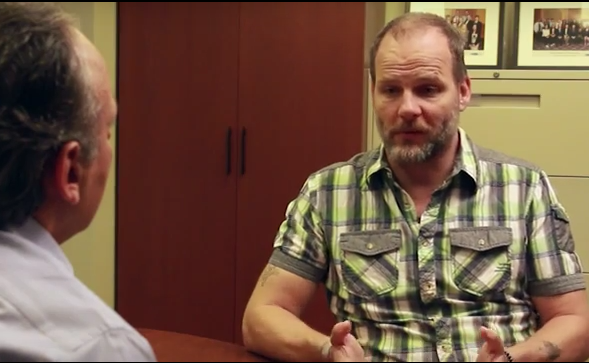
Scripted interviews are used for training medical students on interview techniques and interview content in a variety of clinical contexts. These interviews will usually be shot with 2 or 3 cameras, and can take place in the studio, another room inside of MedIT or the Medical Sciences Building, or another location.
Preparation
While the professionals we see on screen make appearing in front of the camera look easy, it takes a lot of preparation on their part to create that illusion. Good preparation goes a long way to help make the shoots enjoyable and efficient, and the end product a valuable pedagogical resource.
The single, most important thing, for both the interviewer and the interviewees, is to arrive at the shoot knowing your lines. Most scripts are about 3 - 5 pages long. You will not be able to have your script in front of you. In the weeks leading up to your interview shoot, you should spent a minimum of 4 hours learning your lines and rehearsing.
Even if you wrote the script or are a physician who routinely conducts the kind of interviews you are being asked to do in front of the cameras, take the time to learn the script as it has been written. Your interviewee will have learned the script and will expect the questions to be asked in the scripted way and in the scripted order.
The effects of any one of the participants not being fully prepared include extending the duration of the shoot, leading to higher production costs and potentially disrupting your co-actors' and the production team's schedules, and resulting in a below-par end product that may not be an effective teaching tool. That said, however, probably the worst effect is that feeling of being unprepared when the cameras are pointed at you and others are relying on you, and the frustration of not being able to remember your lines and having to do take after take.
Tips for learning the script:
- carefully read the script in its entirety at least twice
- read the script again, this time saying your parts aloud and reading the others' parts silently
- start to memorize your lines by concentrating on paragraphs. Learn each paragraph before moving on to the next one
- consider your role and how that character would ask or answer the questions. Are they angry, nervous, upset, worried? Don't over-emote, but incorporate any of those emotions in your readings
- engage the help of a friend or family member to run lines with you. They should read your co-actors' lines to provide your cues, and you respond with your lines. Do this until you can do it without the script.
The Environment (MSB 3283A)
- Your interview may take place in our small studio that has video lighting, cameras, and microphones.
- At least one technician will be in the studio with you taking care of all of the technical considerations
- The interview will be shot with 2 or 3 cameras, and depending on the situation, will include any of the following:
- one camera that will be capturing you from approximately the waist up
- another camera that will be a wider shot, capturing you and the one or two others in the interview from head to toe
- a third camera that will capture the other subjects from approximately the waist up
Click for maps and directions to the studio
On-Camera Tips and Guidelines
- turn off your phone
- avoid tapping (especially on the table, if there is one), coughing, rustling of paper
- while we
- while we are shooting, do not look at the camera, the technician, or any other people that may be in the room
- if you need to look elsewhere to think--not everyone can look directly at someone else all the time--find a place in the room to which your eyes can wander that isn't in line with the cameras
- as much as possible, reduce ums and ahs while you speak
- you will be captured by the camera even when someone else in the video is speaking and the main camera is on them
- if applicable, you should appear interested in what they are doing and saying by nodding and otherwise reacting (silently) as appropriate, without overacting, and do not vocalize while they are speaking (eg: uh huh, yes, mmhmm, throat clearing, etc)
- if you are considering having notes to refer to, be aware that these will appear in the video and may not be appropriate, depending on the nature of the video
- if your use of notes has been cleared:
- don't read from them. If necessary, refer to them quickly, look up and pause, and then speak
- ensure that the notes you need are only on one page to eliminate paper rustling
- you can take breaks as necessary.
- when you are finished a section or need to take a break, maintain your position and eye contact for 2- 3 seconds after your last word. That is, do not look at the camera or technicians, laugh, vocalize, roll your eyes, say "whew!" etc, until 2 - 3 seconds has passed. This allows time for a fade out or an edit to another shot in the finished video.
- be succinct and to the point. Avoid repeating yourself and using different words to say the same thing
- if you make an error or trip on your words, you can pause and then redo it. If it's easy to do, go back to the beginning and redo it; if you've successfully covered a fair amount of ground, just redo the sentence where you made the mistake. We can edit out the mistake.
- in conversation or presentations, we often begin our sentences with certain words, such as, "So," or "Well." Try to avoid this.
- While not very noticeable in regular conversation, it is noticeable and potentially distracting in videos
- It will be pointed out to you if you're doing this (you likely don't realize you're doing it).
Hair, Make up, and Wardrobe
Unfortunately, we don’t have a budget for hair, make up, or wardrobe, but we do have a mirror in the studio. Here are some tips on what to wear:
* You will be shown on the video from approximately the waist up
* If you normally wear make up, wear the same amount as you usually do
* Avoid bright, reflective jewelry
* If you are doing the interview in the studio, do NOT wear green. The process by which the green-coloured background is replaced is by removing anything from the shot that is green-coloured; if you are wearing green, this will also disappear
* Do NOT wear a jacket or top with small patterns, such as tight stripes or herringbone, as this will shimmer on the video (Moire effect) and be distracting
Preparation for a Shoot in the MedIT
This section will go over how to prepare for a shoot in the MedIT and what to expect.
What to Expect
- at least one technician will be with you taking care of all of the technical considerations, and a director may be present as well.
- the shoot will be done with 1, 2 or 3 cameras, depending on the situation, and may include any of the following:
- one camera that will be capturing you from approximately the waist up or only the head and shoulders
- another camera that will be a wider shot, capturing you and any others in the shoot from head to toe
- a third camera that will capture the other subjects from approximately the waist up or only the head and shoulders
- because there may be elements in the field of view of the camera or noise over which we have no control, there may be times that we'll need to interrupt the shooting of the interview until the disruption has passed.
- the technician will likely ask for a sound check for your microphone level before you begin. Use the same voice as you will you during the shoot: not louder, not softer
On-Camera Tips and Guidelines
- turn off your phone
- avoid tapping (especially on the table, if there is one), coughing, rustling of paper
- while we are shooting, do not look at the camera, the technician, or any other people that may be in the room
- if you need to look elsewhere to think--not everyone can look directly at someone else all the time--find a place in the room to which your eyes can wander that isn't in line with the cameras
- as much as possible, reduce ums and ahs while you speak
- you will be captured by the camera even when someone else in the video is speaking and the main camera is on them
- if applicable, you should appear interested in what they are doing and saying by nodding and otherwise reacting (silently) as appropriate, without overacting, and do not vocalize while they are speaking (eg: uh huh, yes, mmhmm, throat clearing, etc)
- if you are considering having notes to refer to, be aware that these will appear in the video and may not be appropriate, depending on the nature of the video
- if your use of notes has been cleared:
- don't read from them. If necessary, refer to them quickly, look up and pause, and then speak
- ensure that the notes you need are only on one page to eliminate paper rustling
- you can take breaks as necessary.
- when you are finished a section or need to take a break, maintain your position and eye contact for 2- 3 seconds after your last word. That is, do not look at the camera or technicians, laugh, vocalize, roll your eyes, say "whew!" etc, until 2 - 3 seconds has passed. This allows time for a fade out or an edit to another shot in the finished video.
- be succinct and to the point. Avoid repeating yourself and using different words to say the same thing
- if you make an error in a response or trip on your words, you can pause and then redo it. If it's easy to do, go back to the beginning and redo it; if you've successfully covered a fair amount of ground, just redo the sentence where you made the mistake. We can edit out the mistake.
- in conversation or presentations, we often begin our sentences with certain words, such as, "So," or "Well." Try to avoid this.
- While not very noticeable in regular conversation, it is noticeable and potentially distracting in videos
- It will be pointed out to you if you're doing this (you likely don't realize you're doing it).
Hair, Make up, and Wardrobe
Unfortunately, we don’t have a budget for hair, make up, or wardrobe, but we do have a mirror in the studio. Here are some tips on what to wear:
* If you normally wear make up, wear the same amount as you usually do
* Avoid bright, reflective jewelry
* Do NOT wear a jacket or top with small patterns, such as tight stripes or herringbone, as this will shimmer on the video (Moire effect) and be distracting
Preparing for a Scripted Shoot in theMedIT's Studio
Scripted Shoots
Scripted shoots can be any of a range of scenarios, from dramatizations of events to comedic vignettes. Shot in the MedIT studio, these will be captured with 1, 2, or 3 camera.
Preparation
While the professionals we see on screen make appearing in front of the camera look easy, it takes a lot of preparation on their part to create that illusion. Good preparation goes a long way to help make the shoots enjoyable and efficient, and the end product a valuable pedagogical or entertaining resource.
The single, most important thing, for anyone whose job it is to be in front of the camera, is to arrive at the shoot knowing your lines. You will not be able to have your script in front of you. In the weeks leading up to your shoot, you should spent a minimum of 4 hours learning your lines and rehearsing.
Even if you wrote the script or are a physcian who routinely conducts the kind of scenario you are being asked to do in front of the cameras, take the time to learn the script as it has been written. Your fellow actors will have learned the script and will expect it to play out in the scripted way and in the scripted order.
The effects of any one of the participants not being fully prepared include extending the duration of the shoot, leading to higher production costs and potentially disrupting your co-actors' and the production team's schedules, and resulting in a below-par end product that may not be effective. That said, however, probably the worst effect is that feeling of being unprepared when the cameras are pointed at you and others are relying on you, and the frustration of not being able to remember your lines and having to do take after take.
Tips for learning the script:
- carefully read the script in its entirety at least twice
- read the script again, this time saying your parts aloud and reading the others' parts silently
- start to memorize your lines by concentrating on paragraphs. Learn each paragraph before moving on to the next one
- consider your role and how that character would ask or answer the questions. Are they angry, nervous, upset, worried? Don't over-emote, but incorporate any of those emotions in your readings
- engage the help of a friend or family member to run lines with you. They should read your co-actors' lines to provide your cues, and you respond with your lines. Do this until you can do it without the script.
The Environment (MSB 3283A)
- Your shoot will take place in our small studio that has video lighting, cameras, and microphones.
- At least one technician will be in the studio with you taking care of all of the technical considerations, and likely one director
- The scenario will be shot with 1, 2, or 3 cameras, depending on the situation, in front of a green background that will be replaced with a different background in post production.
Click for maps and directions to the studio
On-Camera Tips and Guidelines
- turn off your phone
- avoid tapping (especially on the table, if there is one), coughing, rustling of paper
- while we are shooting, do not look at the camera (unless this is part of the script), the technicians, or any other people that may be in the room, other than your fellow actors
- as much as possible, reduce ums and ahs while you speak (unless it is part of the script)
- you will be captured by the camera even when someone else in the video is speaking and the main camera is on them
- if applicable, you should appear interested in what they are doing and saying by nodding and otherwise reacting (silently) as appropriate, without overacting, and do not vocalize while they are speaking (eg: uh huh, yes, mmhmm, throat clearing, etc)
- if you are considering having notes to refer to, be aware that these will appear in the video and may not be appropriate, depending on the nature of the video
- if your use of notes has been cleared:
- don't read from them. If necessary, refer to them quickly, look up and pause, and then speak
- ensure that the notes you need are only on one page to eliminate paper rustling
- you can take breaks as necessary
- when you are finished a section or need to take a break, maintain your position and eye contact for 2- 3 seconds after your last word. That is, do not look at the technicians, laugh, vocalize, roll your eyes, say "whew!" etc, until 2 - 3 seconds has passed. This allows time for a fade out or an edit to another shot in the finished video.
- if you make an error or trip on your words, you can pause and then redo it. The technician may stop you to restart from a different point, but keep going if you are not stopped
- in conversation or presentations, we often begin our sentences with certain words, such as, "So," or "Well." Try to avoid this.
- While not very noticeable in regular conversation, it is noticeable and potentially distracting in videos
- It will be pointed out to you if you're doing this (you likely don't realize you're doing it).
Hair, Make up, and Wardrobe
Unfortunately, we don’t have a budget for hair, make up, or wardrobe, but we do have a mirror in the studio. Here are some tips on what to wear:
- Do NOT wear green. The process by which the green-coloured background is replaced is by removing anything from the shot that is green-coloured; if you are wearing green, this will also disappear
- If you normally wear make up, wear the same amount as you usually do
- Avoid bright, reflective jewelry
- Although your whole body may not be visible for your scenario, plan for your whole body to appear in case anything changes during the shoot
- Do NOT wear a jacket or top with small patterns, such as tight stripes or herringbone, as this will shimmer on the video (Moire effect) and be distracting
Preparing for a Scenario Shoot
Scenario Videos
Scenario videos are used for training medical students in a variety of clinical or non-clinical contexts, and can be tightly or loosely scripted. They will usually be shot with 2 or 3 cameras, and can take place in the studio, another room inside of MedIT or the Medical Sciences Building, or another location.
Preparation
While the professionals we see on screen make appearing in front of the camera look easy, it takes a lot of preparation on their part to create that illusion. Good preparation goes a long way to help make the shoots enjoyable and efficient, and the end product a valuable pedagogical resource.
If you will be part of a shoot that is tightly scripted, the single, most important thing is to arrive at the shoot knowing your lines. You will not be able to have your script in front of you during the shoot. In the weeks leading up to your interview shoot, you should spent a minimum of 4 hours learning your lines and rehearsing.
Even if you wrote the script or are a physician who routinely engages in the kind of interactions you are being asked to do in front of the cameras, take the time to learn the script as it has been written. The other actors will have learned the script and will expect the questions to be asked in the scripted way and in the scripted order.
The effects of any one of the participants not being fully prepared include extending the duration of the shoot, leading to higher production costs and potentially disrupting your co-actors' and the production team's schedules, and resulting in a below-par end product that may not be an effective teaching tool. That said, however, probably the worst effect is that feeling of being unprepared when the cameras are pointed at you and others are relying on you, and the frustration of not being able to remember your lines and having to do take after take.
Tips for learning the script:
- carefully read the script in its entirety at least twice
- read the script again, this time saying your parts aloud and reading the others' parts silently
- start to memorize your lines by concentrating on paragraphs. Learn each paragraph before moving on to the next one
- consider your role and how that character would ask or answer the questions. Are they angry, nervous, upset, worried? Don't over-emote, but incorporate any of those emotions in your readings
- engage the help of a friend or family member to run lines with you. They should read your co-actors' lines to provide your cues, and you respond with your lines. Do this until you can do it without the script.
If the shoot you are part of is loosely scripted and you do not have set lines, do take the time to go over it, learn the order of events, and take note of the pedagogical objectives in order that you can focus on those during your parts.
The Environment
Your shoot may take place in our small studio, another room in the Medical Sciences Building, or another location, such as a healthcare facility.
There will be 2 - 3 cameras, boom (overhead) or lapel microphones, and supplemental lights
On-Camera Tips and Guidelines
- turn off your phone
- avoid tapping (especially on the table, if there is one), coughing, rustling of paper
- while we are shooting, do not look at the camera, the technician, or any other people that may be in the room
- as much as possible, reduce ums and ahs while you speak
- you may be captured by the camera even when someone else in the video is speaking and the main camera is on them
- if applicable, you should appear interested in what they are doing and saying by nodding and otherwise reacting (silently) as appropriate, without overacting, and do not vocalize while they are speaking (eg: uh huh, yes, mmhmm, throat clearing, etc)
- if you are considering having notes to refer to, be aware that these will appear in the video and may not be appropriate, depending on the nature of the video
- if your use of notes has been cleared:
- don't read from them. If necessary, refer to them quickly, look up and pause, and then speak
- ensure that the notes you need are only on one page to eliminate paper rustling
- when you are finished a section or need to take a break, maintain your position and eye contact for 2- 3 seconds after your last word. That is, do not look at the camera or technicians, laugh, vocalize, roll your eyes, say "whew!" etc, until 2 - 3 seconds has passed. This allows time for a fade out or an edit to another shot in the finished video.
- if your scenario is not tightly scripted, be succinct and to the point. Avoid repeating yourself and using different words to say the same thing
- if you make an error or trip on your words, you can pause and then redo it. If it's easy to do, go back to the beginning and redo it; if you've successfully covered a fair amount of ground, just redo the sentence where you made the mistake. We can edit out the mistake.
- if you're not doing something well, we will point it out. Please do not take this personally--the goal is to create excellent teaching objects, and helping you get it right is just part of the process.
Hair, Make up, and Wardrobe
Unfortunately, we don’t have a budget for hair, make up, or wardrobe, but we do have a mirror in the studio. Here are some tips on what to wear:
* Depending on the type of scenario you are shooting, your whole body or just the waist up will be shown in the video. If you have any concerns about what will be visible in the shots, please contact our AV Staff
* If you normally wear make up, wear the same amount as you usually do
* Avoid bright, reflective jewelry
* Do NOT wear a jacket or top with small patterns, such as tight stripes or herringbone, as this will shimmer on the video (Moire effect) and be distracting